How to Enlarge an Image Without Losing Quality
Why a blown-up image turns to mush, which settings actually change the result, and how to get a file that survives both a 4K screen and a print shop.
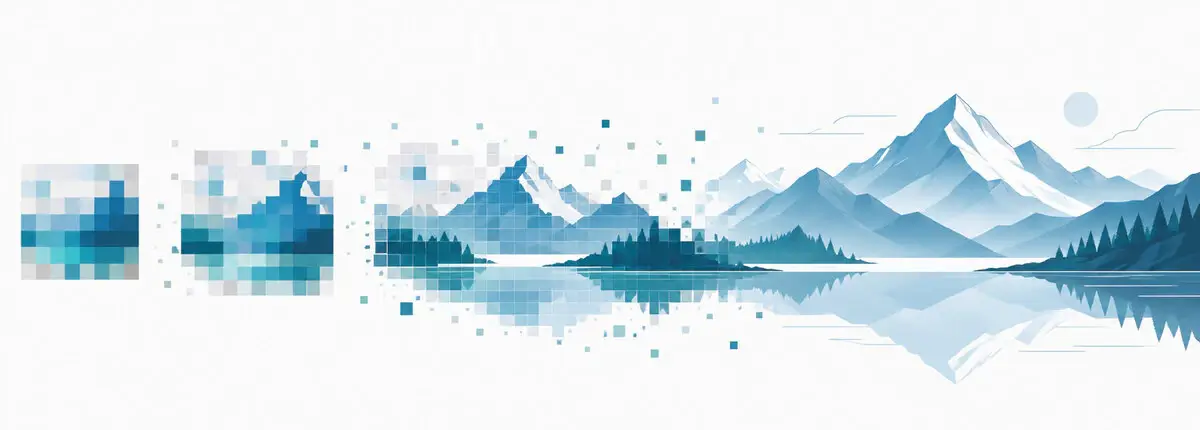
Every upscaler, ours included, is guessing. A 500×500 thumbnail has 250,000 pixels; a 4000×4000 version needs 16 million, and 15.75 million of them do not exist yet. The only question is how good the guess is and how obvious it looks at 100 % zoom.
We build the upscaler behind bigjpg.com, and most of what follows comes from the files people send us and the problems they run into. Most of the disappointment we hear about comes from three things: the wrong model, the strongest noise reduction, and starting from a file that was already ruined before it reached us. Here is what actually helps.
What changes when you enlarge, and why it goes soft
Classic resizing — bilinear, bicubic, Lanczos — fills in the new pixels by averaging their neighbours. It is fine at 110 % and bad at 400 %. Stretch a 600×600 JPEG to 2400×2400 and you get 5.76 million pixels, of which about 5.4 million were interpolated. Edges pick up halos, fine texture turns into a grey smear, and every compression artefact that was hiding at small size is now 4× bigger.
A super-resolution network does something different: it was trained on millions of low/high-resolution image pairs, so it has learned what hair, foliage, fabric, lettering and line art look like when they are sharp. Instead of averaging, it draws what it believes belongs there. The output looks considerably better — and it is still a reconstruction, not a recovery.
Where AI upscaling wins, and where it does not
Line art and illustrations are the best case. A clean 2-pixel outline either stays 2 pixels or becomes a soft ramp; the second one is what makes an upscaled manga page look like it was printed on tissue paper. Illustration also has flat colour regions, and flat colour is easy to keep flat.
Photographs benefit too, especially portraits, product shots and nature images, because the model has seen those textures many times. Grain is a problem: aggressive noise reduction removes real texture along with the noise, and skin starts looking like silicone.
Screenshots and text depend entirely on the source. Upscale a PNG screenshot and you get clean results. Convert it to JPEG first and you have destroyed the sharp edges you were trying to preserve. Same image, same tool, very different outcome.
What no tool can do: put back information that was never captured. If a face in the source is 30 pixels wide, the real eyebrows, pupils and corners of the mouth are gone. The model will produce a plausible face, which is a fine result for a wallpaper and a bad result for a passport photo. We wrote more about this in our AI transparency note.
The settings that change the result
Four settings matter. Everything else is convenience.
- Style (art / photo). Choose art for anime, manga, digital painting, icons and line drawings; photo for camera files. The art model protects outlines and flat colour. We see a lot of anime wallpapers run through the photo model — the lines come back softer and the flat areas pick up texture that was never in the drawing.
- Noise reduction. “None / low / medium / high / highest” trades grain for smoothness. Highest removes JPEG blocking well, and it is also the most over-used setting we see: on portraits it flattens skin, and on landscapes it turns foliage into confetti. Our default advice is low or medium; use highest only when the source is badly compressed and the subject is a drawing.
- Factor. 2× and 4× are the safe range for photos. 8× and 16× exist for genuinely tiny sources — a 200-pixel sprite, an old avatar, a scanned stamp — where you have no choice. Running 16× on an already decent photo mostly buys you time and invented texture; see 2× vs 4× vs 8× vs 16× for the trade-offs.
- Output format. Keep PNG for line art, logos, UI and anything with transparency. Use JPEG for photographs. Re-encoding a PNG screenshot to JPEG before upscaling is the single most common self-inflicted wound we see.
A workflow that survives printing
- Start from the largest original you have. Upscaling the original once beats upscaling a thumbnail twice.
- Decide the target size first, in pixels or in centimetres at 300 DPI. A 10×15 cm print at 300 DPI is about 1180×1770 px; an A4 at 300 DPI is 2480×3508 px. Our print size cheat sheet has the rest.
- Pick the smallest factor that reaches that target, not the largest the tool offers.
- Compare the result with the original at 100 % before you send anything to a printer. At 100 % the invented parts are obvious; on a wall or a screen at normal viewing distance they usually are not.
- Keep both files and note the settings. When a client asks for “the same but bigger”, you will want the recipe.
Limits worth knowing before you upload
Free accounts handle images up to 3000×3000 px and 5 MB. Paid accounts go to 50 MB per image and run on a separate, faster queue (plans). Uploads are deleted automatically — within 24 hours for free accounts, 72 hours for paid ones — and result links are encrypted, so nothing becomes public unless you share it.
The three questions we get every week
Can it recover detail that is not in the file?
No. It can produce detail that is consistent with the file. That distinction matters if the image is evidence, a document, or someone's face.
Is 2× better than 4×?
For a photo that is already reasonably large, yes — 2× and 4× look natural, 8× starts adding texture. For a 300-pixel source, 4× is not enough and you will want 8×.
Does it work on text and screenshots?
Yes, and better than you would expect, as long as you stay in PNG, use the art model, and keep noise reduction low. Strong noise reduction blurs thin strokes — the opposite of what you want for text.
Try it on one of your own files: enlarge an image free, no account needed. If the result is not good enough, the problem is usually the source, not the settings — and we would rather tell you that than sell you a higher factor.